You’ve mastered the 3-color looks, but you want more…color, dimension, details! It’s time to take your look from paint-by-numbers, to work-of-art.
Becoming your own makeup artist takes some practice, but it’s well worth the investment of time and is easier than you might think. Take your skill up with by learning (00:34) the basics of eyelid anatomy. You’ll know where to put your eyeshadows and the correct brush to use. Anna K also teaches you (1:06) why you shouldn’t skip prep and primer, (1:19) and the four kinds of eyeshadow; with the why, how and where to use them.
The how-to starts here (2:49). Watch all the way through, the order might surprise you.
4-Color Eyeshadow Basics:
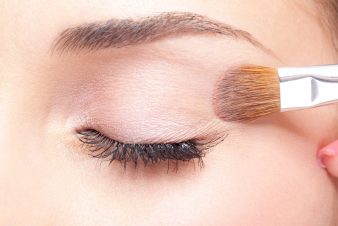
- (2:49) Start with your “fluffy” blender brush and apply your mid-tone shadow here.
- (4:12) Use your angled brush with the contour shadow. This is where you get to be creative with color and intensity.
- (6:36) With the fluffy side of your duo brush, you will go in with the base shadow to blend and connect the colors.
- (7:50) Using the blender brush again you’ll pick up some of the transition color to blend and finish.
(8:57) You could stop here for a beautiful every-day look, but… If you want to get creative with more depth and drama try this.
(10:14) Still, want more? Make it extra special with this last step.
(12:16) Complete your work of art with liner and mascara (remember to prep and finish with the Lash Kit).
With the right brushes, products, technique, and a little bit of practice you can create a makeup masterpiece!
Do you have what you need to try this new look? As a Lifestyle Member, you get the benefit of free shipping on DYT makeup and haircare. Complete your collection today!
Products used in this video:
- Eye and Lip Primer
- Dual Action Concealer
- Twelve Shadow Palettes
- “Fluffy” Blender Brush
- Crease/Shadow Duo Brush
- Angled Shadow Brush
- Lash Kit
- Mascara for your Type
- Eye Liner for your Type
More eyeshadow tutorials, by Type:


