Have clothes you love but the color isn’t correct for you?
DIY Expert, Michelle, demonstrates how to dye the clothes you love in order to personalize them to fit your unique Type of beauty.
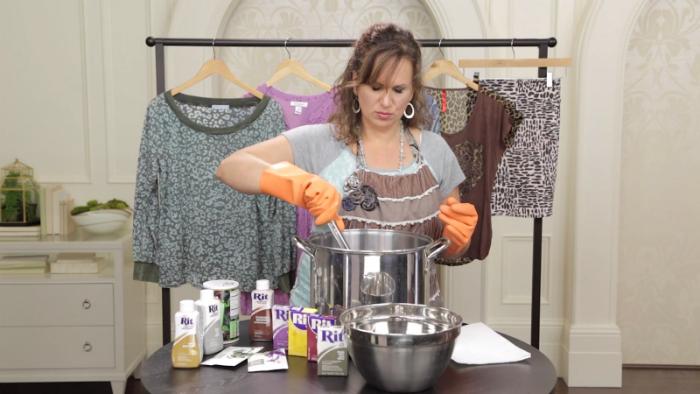
Before you begin you’ll need the following items:
- Your garment of choice, washed and slightly damp.
- Large pot (one you don’t need to use for cooking)
- Medium-sized bowl (that you don’t use for cooking)
- Apron
- Tongs
- Rubber gloves
- Rit Dye (links below)
- Salt
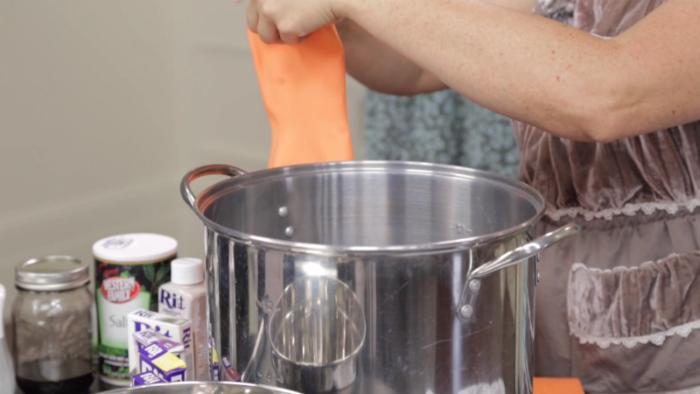
Step 1 (4:02): Put on your gloves and fill the pot with hot water. Place pot on the stove.
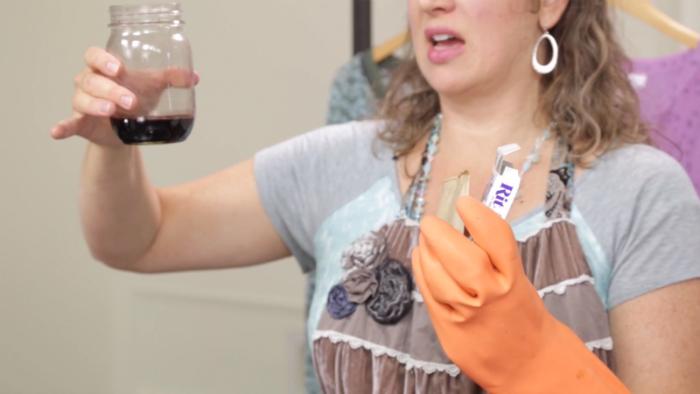
Step 2 (5:01): Over the sink, combine your dye mix into a small jar.
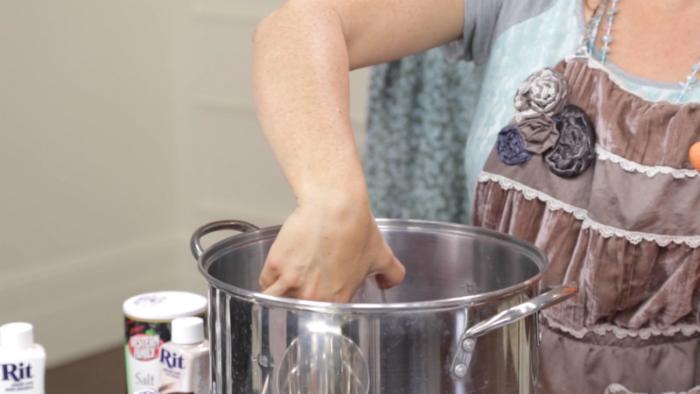
Step 3 (6:34): Add your jar of dye to the pot of hot water.
Step 4 (6:50): Add 1 c. salt per 1 lb. of fabric you’re dyeing.
Use your tongs to mix the salt and dye into the water. This can take 5 – 10 minutes. It’s really important that everything is dissolved before you put your garment in.

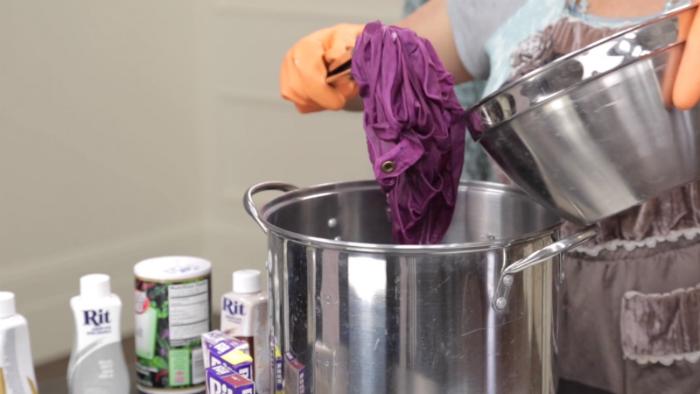
Step 5 (7:58): Add your garment to the pot and submerge it into the dye with your tongs.
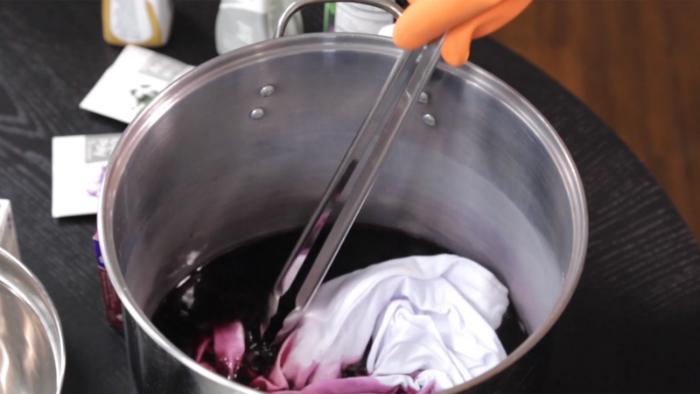
Step 6 (8:30): Stir the pot on the stove on low until the garment is just a bit darker than the color you want.
Step 7 (9:04): Lift the garment with tongs and place it into the bowl.
Step 8 (9:27): Take the bowl to the sink and use warm water to rinse the garment.
Rinse and squeeze the garment out in the bowl as you fill and dump out the water in the bowl continually. Switch to cold water and you’ll know you’re done rinsing when the water runs clear.

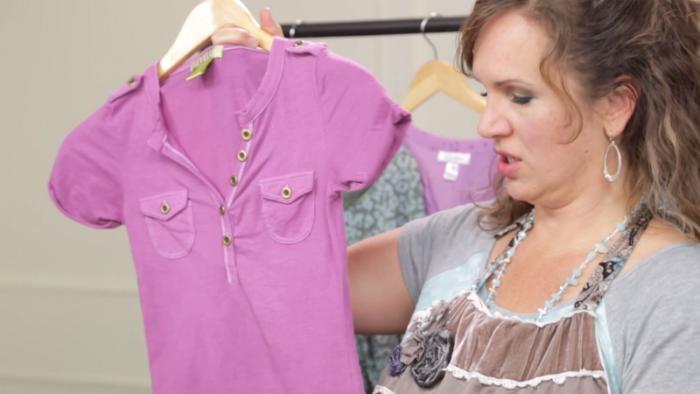
Enjoy your final product (10:17)!
- Rit Liquid Dye, Cocoa
- Rit Liquid Dye, Tan
- Rit Liquid Dye, Pearl Grey
- Rit Powder Dye, Pearl Grey
- iDye Poly, Silver Grey
- iDye Poly, Brown


What about Type 4–suggestions for colors and how long to soak the items in the dye to get the right color? Thanks!
We are actually hoping to be talking about dying specifically for Type 4’s in a later video, so stay tuned!
It would be good if you could show some natural dying techniques for T4s and other types. Not all of us are keen on using chemicals to dye clothing. Thank you.
Hi Bianca. Dharma Trading has some natural dyes that you can use. Click on the link to find the colors they offer, as well as the tab for the instructions on how to do it. I’d love to see pictures of the results if you’d like to post them here.
http://www.dharmatrading.com/dyes/natural-dyes-from-plants-and-insects.html?lnav=dyes.html
Jennifer, here is the video….
https://my.liveyourtruth.com/dyt/type-1-and-type-4-dyeing-clothes/
thanks Michelle! I watched the video and was surprised how bold the colors came out. I’m going to have to try some T4 dying for sure!
Yay! Let us know how it turned out.
Thanks for this demo, Michelle. I’m going to take the plunge!
Yay! Let us know how it turned out. You can even post pictures here of your projects. I’d love to see them.
Thanks for the informative video. I was wondering if you have problems with the dye coming off in the washing machine when you wash the clothes later on.
Thank you for this question, Lesnie. We haven’t noticed any of the dye coming off after the initial wash after dying. However, you can always give it a second wash alone just to make sure.
It is helpful to wash in cold water and not hot.
This was a very helpful video! I loved seeing Michelle actually doing the dying process live. I am just loving all of your lifestyle videos. Thanks Michelle and dyt! xoxo
Thank you Anna!!
I’d love a bleaching video for us Type 1s. I often find shirts on clearance or at thrift stores that are nearly Type 1 tints and just need a little lightening. I did successfully lighten two, but I also ruined two lol so I could use some help on technique! Dyeing tips for Type 1s would be great too.
RIT Color Remover. It works very fast so keep an eye on it. I use the stove top method which is faster. Hot water keeps the chemicals active. Read the directions inside of the box BEFORE starting and make certain you have all items ready. Do a mock run through, step by step, before you really begin. Do not get the chemicals on your skin.
Tips:
1. LARGE Stainless steel pot
2. Rubber gloves
3. Large bowl or SS pot to transfer clothing item from stove to sink to rinse in hot water until the water comes clean.
4. Mask for fumes
5. Eye protection from any splashes of chemicals
6. Ventilation over stove and open cross current windows for fresh air
7. Long wooden spoon
8. Tongs
9. Have the washing machine filled with hot water and soap prior to transferring clothes from sink to laundry area
***Write with permanent marker “DYE” on all equipment you use for dying, so you do not use them for cooking. Keep them in a separate space!
***Do a test run with an old T-shirt (of the same color) prior to starting
Jessica, check out this video….
https://my.liveyourtruth.com/dyt/type-1-and-type-4-dyeing-clothes/
LOVE this! I DIY all of the time. I cannot find the video with painting. Can you repost it?
Thank you Dianna. Which video were you referring to that had to do with painting?
Shoes
You can find where I talked about suede on the Refashioning 202 Club Night.
I have a pair of suede fabric slouch boots that I want to Type2 with grey and do not know what paint to use to keep the slouch fabric soft and supple.
Wonderfully helpful video. Thank you for going through each step in such a detailed manner for us Type 2s! I have a question about lightening black items. Is there any way to do this so that the tone becomes more of a grey? Thank you!
Maggie, I would suggest doing a bleach bath with a small ratio of bleach to water. Every fabric content is different, and so is the dye content, so you never know what you’re going to get. Don’t use Rit Color Remover though or you’ll never get a grey (at least I never have).
Thanks so much! I’ve now watched your new color removal video, which was very, very helpful. Can’t wait to give it a try!
Michelle, how can I die wool clothing without shrinking it? Thanks.
I’ve never tried dying wool before, but I found this piece of advice that looked helpful on another website:
“One thing to keep in mind with the boiling water – because shocking the wool can cause shrinkage and possibly felting. You’ll want to start the dye bath in cool water. So it will go like this, pre-dissolve the dye in a couple of cups of hot water, add that to two to three gallons of cool/warm water, add your pre-wetted fabric, swish it around, then begin adding the boiling water taking care to not pour the boiling water onto the fabric. Continue adding boiling water until the temperature has reached at least 180 degrees F. The reason for adding the hot water to the cool water is to help prevent shocking the fabric by ‘slowly’ raising the temperature. You’ll also want to stir the fabric gently as the temperature rises as vigorous stirring can also cause
felting.”
I hope that helps, Karen. I also read that wool can be dyed with Kool Aid using cool water, so that may be an option as well. Let us know how it turns out.
Thanks so much Michelle. That’s very helpful!!
I’ve also been reading about Procion Dyes. You don’t need to use as hot of water to dye the fabric so it may be better for dying wool. Look at this link and see what you think.
http://www.dharmatrading.com/dyes/dharma-fiber-reactive-procion-dyes.html
It’s recommended to only use stainless steel correct? Also, my sweater is currently a grayish blue, would adding some pink make it purple? Thanks again…
Not necessarily. I know some people use big plastic buckets and pour hot water in, but I usually use stainless steel so I can control the heat. But if you use Procion Dye and don’t need super hot water, then plastic would work just fine. Also, I would think that adding pink or a berry color would turn it purple (depending on how dark you want it), but experiment first if you can.
Thank you, Michelle. You mentioned that Anne had figured out the dye formula recipes in a previous video. I can’t find that video. Was it specifically for type 2 clothing?
Marissa, there is a post for T2 recipes and T3 recipes. Here is the T2 one. https://my.liveyourtruth.com/dyt/type-2-dyeing-recipes/
Thank you so much! I’m also looking for the T3 recipes. I haven’t found any results when I search.
Here is the post for the T3 recipes. When you do a search for dying recipes nothing comes up for some reason, but it is on the side bar towards the bottom under quick links. https://my.liveyourtruth.com/dyt/type-3-dyeing-recipes/
Thank you! I can’t wait to get started.
Michelle, I have a red top that I just want to grey down a little bit. I want to bring it into the Type 2 red family. Would I just put it into some Pearl Grey dye until I like the color? Or do you have any suggestions??
Kathleen, usually the darker colors need more work to get them softer looking since the gray dye can be on the light side. I would first try to put quite a bit of gray dye into my pan with less water so it’s a stronger solution. If that doesn’t work, keep the gray dye solution in the pan and add a little denim blue dye. That usually cuts the intensity of the colors for me and I’ve been happy with the result. Let me know how it turns out!
Great advice. I am still not sure about what are T2 reds and when I have dyed them grey I am not sure that they are now T2 red or still on the T3 shade.
iDye for Poly just came out with 2 gray colors. They are Silver Grey and Gun Metal. So exciting for us Type 2’s!!!
Oooh love gun metal grey! Loving the darker greys!
Thank you for the awesome tutorial. Just wondering, if I make a batch of dye, can I only dye one pair of jeans size 6-8 per batch? I have a hard time wanting to dump out all that dye if I could do another pair in it. I am trying the jet black procion. Thanks in advance.
You can totally dye more things in it as long as you have enough liquid to cover the fabric. You may have to add a little more of the dye in if it’s not as dark as you want it to be.
May be a long shot but can you dye grey garments to type three shades?
I’m not sure if I’ve tried plain gray, but definitely type 2 things to type 3. IF you’d like to experiment, just make sure you have a lot of dye and less water, and have a lot of gold in the color of dye you are using (add sunshine yellow to get a really golden, rich color to help offset the gray). Let me know how it goes.
Kalli, did you ever try this? If so, what did you do and how did it go? I have lots of T2 items that need to be turned into T3. Thanks!
No I didn’t Heather, I was able to replace some of my grey items for less than the cost of dye so I figure I will just send the grey things to consignment. If you try it though please let us know how it turns out?
There have been some questions about how to subtly change the colors of fabrics with dye. Dying things is always a fun experiment, and nothing is ever certain with the outcome since every fabric content is different, etc. Before you decide to dye anything please make sure that it’s something that you won’t be heartbroken to lose if it doesn’t turn out the way you would like. With that being said, there are a few things that I always do when I want to keep the color but change it to be more of my type (Type 2). I wouldn’t put the clothing in color remover first if you’re wanting to keep the overall color family. It’s time consuming and you can be left with something with a lot of warmth (color remover generally turns things Type 3 in my experience because it takes out the cool colors first). Bleaching can weaken the fabric, but if you don’t mind taking a chance, you can bleach the item if you’re wanting to lighten it.
**Type 2’s: For colors that are too bright, I add a little bit of Pearl Gray dye to a pan full of water. Start with 2-3 teaspoons of color for a few gallons of water. Stir the clothing around in the dye bath for several minutes to see if it’s picking up enough color. If it’s still too bright, then add more dye to the mixture. If I want to tone it down even more, then I will add more gray dye until it’s the shade that I’m going for. Just make sure that the dye is completely dissolved before you put the item of clothing back into the dye bath or you will get streaks. (My favorite is the liquid dye). I usually don’t spend more than 5-10 minutes with the clothing in the dye bath because I like it to go quickly. You can usually tell what the color will look like within that time, but know that some of the dye will wash out, so take that into consideration. For items that are darker or more bold to begin with and I want it to end up a Type 2 color, I usually add some denim blue to the dye bath to cut the boldness.
**Type 3’s: To make something more Type 3, I will usually add some Tan dye to my water bath (depending on how much I want to tone it down). To me, it gives the same effect as tea, but it’s less messy to use. For darker shades I like to use cocoa brown.
There isn’t a hard and fast rule on dye amounts and timing, you just need to experiment and see what’s working. Remember, always stir very well as you’re dying things or you could run the risk of getting streaks or splotches on your clothing because the dye can settle to the bottom. I love dying things to make them perfect for me, so don’t be intimidated by it. Even though it sounds difficult it’s pretty easy once you get the hang of it. Just remember to start with less dye, and add more if needed!
Looking for some help mixing RIT Dyemore Dyes to become T3 colours Which ones would I need to order. This is my second attempt to get the colours correct.
Michelle – T2 expert and refashioning etc. expert can you help?
Thank you to whomever can help this T3 finally dye her, favourites before DYT time, The right colours. They have been coming out T2 colours and I lived that for over 28 years so I really can’t stand even a slight look of T2.
Good tips! Do you have any results for turning type 1, 2, and 3 dark blues into type 4 true navy? Or type 1, 2, and 3 reds into a type 4 burgundy? I also want to dye my grey clothes into black, and my faded black clothes into a deeper black—any tips to getting a true black?
Thanks Michelle!
Thank you for sharing this with us, Michelle. You made the process look much less intimidating than I was making it in my mind. <3
Beautiful. Love your videos, Michelle! I’m looking for some of the older videos as well that came with our old T2 course, but not finding them. I have some pretty white blouses I’d like to tone down for T2. I’ve done it with pearl grey before – but how would I change it just a touch to make it T2 white? thanks.
Hi Mary Ellen! If you want to tone them down just a touch, use the tiniest amount of the pearl gray, with lots of water, so the water still looks mostly clear. If the item isn’t picking up enough of the dye, then add just a bit more. You can also add some taupe in addition to, or instead of the gray.